In this blog post, we are going to bring a few different technologies together to support an instance of the Red Hat build of Keycloak running on Red Hat OpenShift. We are going to use the Red Hat build of Keycloak Operator, the cert-manager Operator for Red Hat OpenShift and Red Hat OpenShift Data Foundation for storage.
Keycloak uses PostgreSQL as it’s underlying database, so to begin, we will need to get PostgreSQL running as a StatefulSet in our cluster. Create a new project using the command oc new-project keycloak. When you create a new project using the oc CLI, it will automatically change your current context to the newly created project. After the project is created, apply the following YAML to create the PostgreSQL StatefulSet. I leveraged a previous blog post and it’s documentation for the heavy lifting here.
apiVersion: v1
kind: ConfigMap
metadata:
  name: keycloak-postgres-config
  labels:
    app: keycloak-postgres
data:
  POSTGRESQL_DATABASE: keycloak
  POSTGRESQL_USER: admin
---
apiVersion: v1
kind: Secret
metadata:
  name: keycloak-postgres-secret
  labels:
    app: keycloak-postgres
data:
  # echo -n "Pass123!" | base64
  POSTGRESQL_PASSWORD: UGFzczEyMyE=
---
kind: PersistentVolumeClaim
apiVersion: v1
metadata:
  name: keycloak-postgres-pvc
  labels:
    app: keycloak-postgres
spec:
  storageClassName: ocs-storagecluster-cephfs
  accessModes:
    - ReadWriteMany
  resources:
    requests:
      storage: 5Gi
---
apiVersion: apps/v1
kind: StatefulSet
metadata:
  name: keycloak-postgres
  labels:
    app: keycloak-postgres
spec:
  serviceName: keycloak-postgres
  replicas: 3
  selector:
    matchLabels:
      app: keycloak-postgres
  template:
    metadata:
      labels:
        app: keycloak-postgres
    spec:
      containers:
        - name: keycloak-postgres
          image: registry.access.redhat.com/rhel9/postgresql-16:1-25
          imagePullPolicy: "IfNotPresent"
          ports:
            - containerPort: 5432
          envFrom:
            - configMapRef:
                name: keycloak-postgres-config
          env:
            - name: POSTGRESQL_PASSWORD
              valueFrom:
                secretKeyRef:
                  name: keycloak-postgres-secret
                  key: POSTGRESQL_PASSWORD
          volumeMounts:
            - mountPath: /var/lib/postgresql/data
              name: keycloak-postgres-vm
          resources:
            limits:
              memory: "2Gi"
              cpu: "1"
            requests:
              memory: "1Gi"
              cpu: "0.5"
      volumes:
        - name: keycloak-postgres-vm
          persistentVolumeClaim:
            claimName: keycloak-postgres-pvc
---
apiVersion: v1
kind: Service
metadata:
  name: keycloak-postgres
  labels:
    app: keycloak-postgres
spec:
  selector:
    app: keycloak-postgres
  ports:
    - protocol: TCP
      port: 5432
      targetPort: 5432
Install the Red Hat build of Keycloak Operator
To install the operator, you can either use the OpenShift UI to perform the Operator install, or you can use the oc CLI. The operator is designed to run in a single project/namespace, so we have to create the OperatorGroup for targeting the previously created keycloak project. Here’s the YAML to add the Subscription to the cluster.
apiVersion: operators.coreos.com/v1
kind: OperatorGroup
metadata:
  name: keycloak-operator-group
spec:
  targetNamespaces:
    - keycloak
---
apiVersion: operators.coreos.com/v1alpha1
kind: Subscription
metadata:
  name: rhbk-operator-subscription
spec:
  channel: stable-v24
  installPlanApproval: Automatic
  name: rhbk-operator
  source: redhat-operators
  sourceNamespace: openshift-marketplace
Create the Certificate
We are going to use the previously installed and configured cert-manager instance to create our certificate using Let’s Encrypt. Here is the YAML for the create the Certificate CR.
apiVersion: cert-manager.io/v1
kind: Certificate
metadata:
  name: sso-lab-snimmo-com-certificate
  namespace: keycloak
spec:
  commonName: sso.lab.snimmo.com
  dnsNames:
    - "sso.lab.snimmo.com"
  secretName: sso-lab-snimmo-com-tls
  isCA: false
  issuerRef:
    group: cert-manager.io
    name: letsencrypt-cluster-issuer
    kind: ClusterIssuer
Creating the Keycloak Instance
The final step is to create the custom resource for the Keycloak instance itself.
apiVersion: v1
kind: Secret
metadata:
  name: keycloak-db-secret
  labels:
    app: keycloak
data:
  # echo -n "admin" | base64
  username: YWRtaW4=
  # echo -n "Pass123!" | base64
  password: UGFzczEyMyE=
---
apiVersion: k8s.keycloak.org/v2alpha1
kind: Keycloak
metadata:
  name: sso-lab-snimmo-com-kc
  labels:
    app: keycloak
spec:
  instances: 1
  db:
    vendor: postgres
    host: keycloak-postgres
    usernameSecret:
      name: keycloak-db-secret
      key: username
    passwordSecret:
      name: keycloak-db-secret
      key: password
  http:
    tlsSecret: sso-lab-snimmo-com-tls
  hostname:
    hostname: sso.lab.snimmo.com
  proxy:
    headers: xforwarded
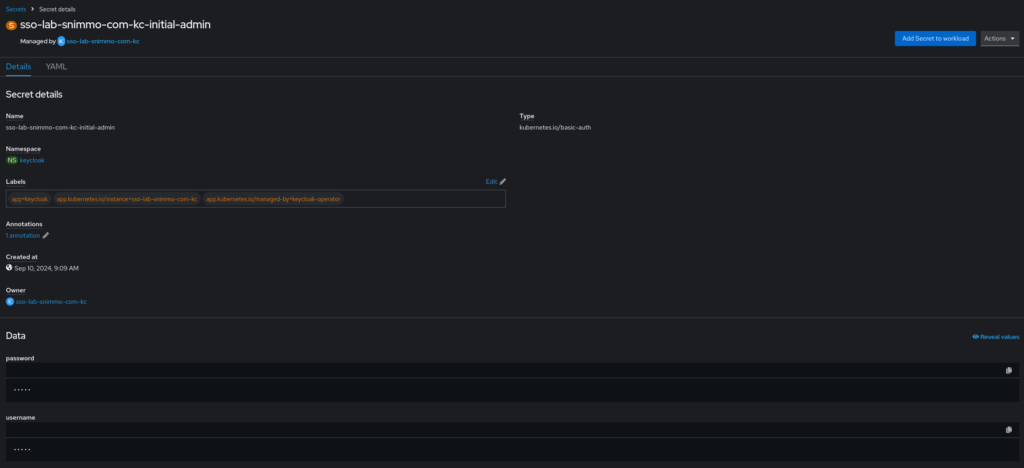
Once the startup is complete, you can access the temporary admin credentials in the secret located in the namespace.

You can also access them using the CLI.
oc get secret sso-lab-snimmo-com-kc-initial-admin -o jsonpath='{.data.username}' | base64 --decode
oc get secret sso-lab-snimmo-com-kc-initial-admin -o jsonpath='{.data.password}' | base64 --decode
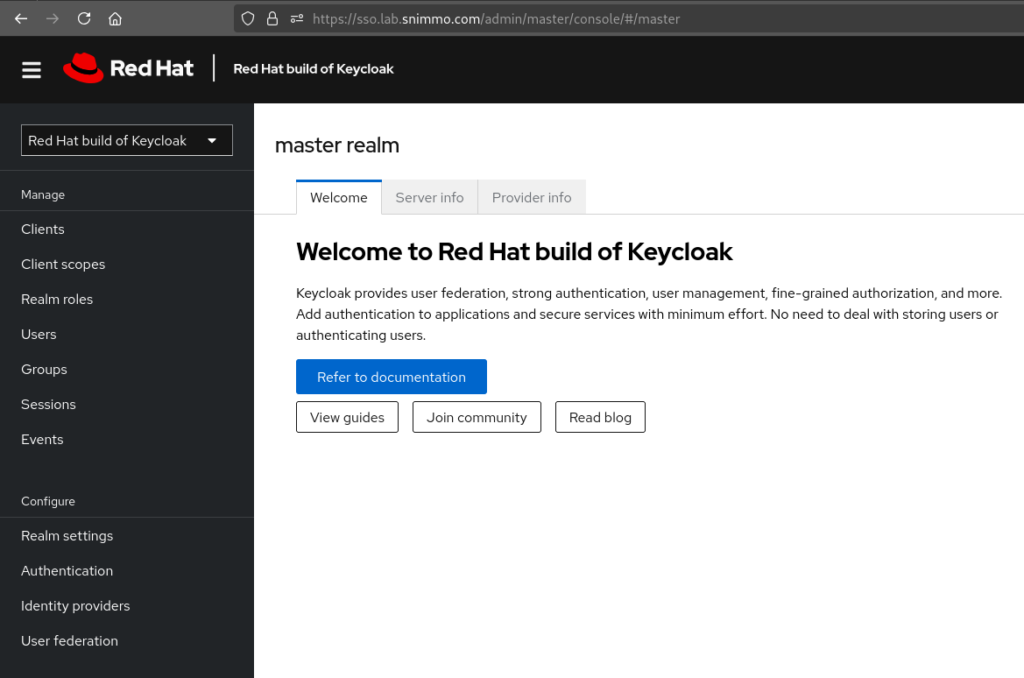
Now you can login to your new shiny Keycloak.

One comment
Comments are closed.